Track Your Order

South Koreans and skincare go hand-in-hand. Be it a viral product or creating a viral skincare trend, they rarely go wrong. One such trend they created that took the skincare (and now even makeup) world by storm is the glass skin trend! But what is glass skin all about?
Glass skin is characterised by a luminous, dewy, reflective finish, which can be achieved through a long, yet result-driven skincare routine. Full disclosure, it’s not as easy as it sounds. It requires patience (a lot of it), consistent effort, time, and the right mix of products. But one can still achieve this through makeup. Glass skin makeup is all about achieving a smooth, flawless complexion that radiates a ‘lit-from-within’ glow. All you need is the right set of products and this step-by-step routine to ace the glass skin makeup look. From skin prep to the final touches, this routine covers it all. So don’t forget to bookmark this article for when you want to create the look.
Step 1: Cleanser
The most important part of creating the glass makeup look like a pro is acing your skincare game. Start with a clean slate by washing your face with a gentle, hydrating, non-stripping cleanser. You can also opt for the double cleansing method by using an oil-based cleanser to unclog pores and remove impurities, followed by your regular cleanser.
Step 2: Toner
A glass makeup look is all about achieving a flawless, poreless complexion, and a toner is sure to come in handy when trying to achieve this. Take a cotton pad and apply a hydrating toner evenly all over your face. Use an alcohol-free toner with hydrating ingredients and mild astringents to tighten pores and give skin the dewy appearance it needs to create the look.
Step 3: Hydrating Serum & Moisturiser
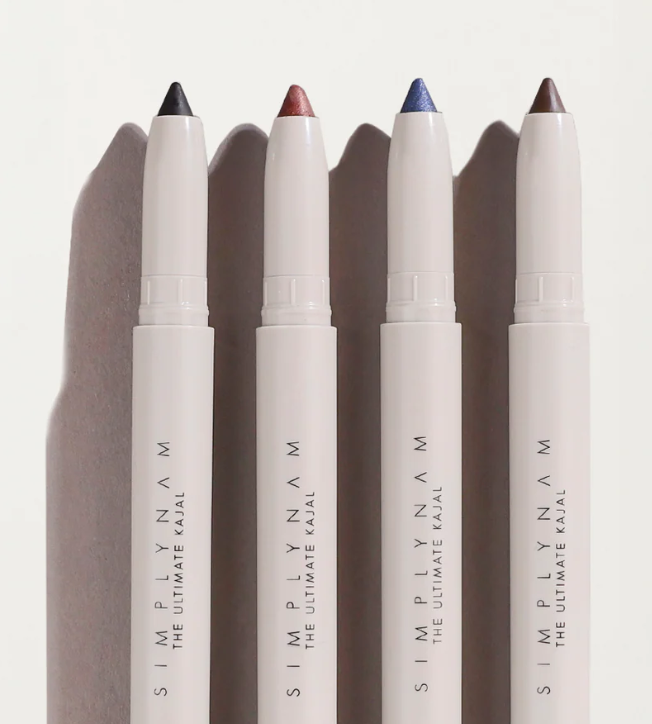
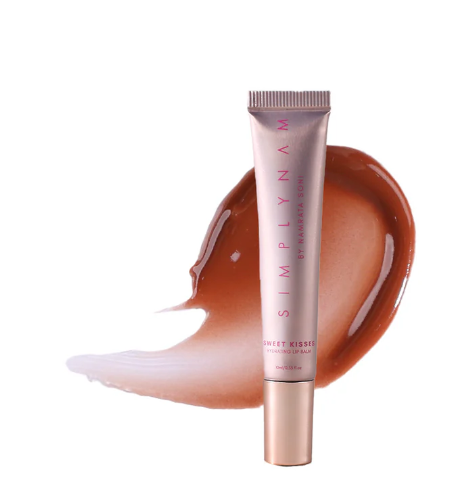
Hydration is key to getting that lit-from-within glass skin glow! Add a hydrating serum and moisturiser according to your skin type to the routine. Apply it evenly across your face and neck and allow it time to sink in to get the best results, and prevent your makeup from pilling as you continue your routine. Don’t forget to use a hydrating lip balm to get a plump-looking, hydrated pout, too.
Step 4: Primer
Opt for a dewy or illuminating primer for the glass skin makeup look to set the tone right at the start. Dewy and illuminating primers pull double duty by helping you blur pores and prep your skin, while also adding an extra layer of hydration that helps give a luminous look right from the start. Apply it evenly across your face to create a smooth base for the rest of your routine.
Step 5: Colour Corrector & Concealer
To get a flawless complexion, you must first use a colour corrector to neutralise any discolouration, pigmentation, redness, uneven skin tone, and dark circles. Use the NEW Simply Nam Hydrafit Colour Corrector for this step. Its lightweight, hydrating formula offers seamless coverage, helping you target concern areas without weighing down on your skin. Follow this up with a concealer to even it all out. Blend it well to avoid it from looking patchy under your foundation.
Step 6: Foundation
A lightweight, buildable foundation, preferably in a liquid or cream consistency, will help you get the base you need to ace the glass makeup look. If you think your skin can do with something lighter, then go for a skin tint to give you just the right amount of coverage without feeling cakey. Start by applying a very light layer of foundation to even out your skin tone, and blend it well using the Simply Nam Velvet Microfiber Makeup Sponge. This will help you get a seamless, airbrushed finish without absorbing your product.
Step 7: Loose or Translucent Powder
This is an optional step, but it’s always good to dab on a little bit of translucent setting powder to lock in your base. You don’t want to mattify it completely, so just use a small amount and dab it gently only on areas that are prone to getting oily or creasing, like the nose, forehead, smile lines and under eyes.
Step 8: Blush
Brighten up your complexion with an application of the Simply Nam Velvet Cream Magic Blush. Cream blushes are the perfect choice to create a glass makeup look because they blend effortlessly, add a healthy flush of colour to your face, and offer that dewy finish that eventually helps enhance the final result of the look. If you want to make your blush last longer on your face, then apply the Simply Nam Radiant Powder Magic Blush and top it off with a light layer of the cream blush.
Step 9: Highlighter
The most important step in getting the perfect glass makeup look is applying your highlighter. While your hydrating skincare routine and lightweight base makeup already help you get that lit-from-within glow, a highlighter just seems like the cherry on top of it all! Use the Simply Nam Cosmic Glow Highlighter Duo on the high points of your face to achieve that luminous look.
Step 10: Setting Spray
To complement the light and dewy look of your face, keep the eye and lip makeup simple with nude shades. Add a touch of shimmer to the lids if the occasion or your outfit calls for it, and add a lip gloss or lip oil to your lips to match the overall vibe of the glass makeup look. To lock this all in, finish with a few spritzes of setting spray and let it dry. Reapply a setting spray or use a hydrating face mist to ensure that luminous glow sticks around throughout the day.
Option Step: Body Highlighter
Extend the glass skin glow to your body by applying the Simply Nam Pixie Dust Multi-Use Glitter Glow on your collarbones and shoulders. This will help you get a gorgeous shine all over, taking your glass skin makeup look to the next level!
The routine to get the perfect glass makeup look may require time, effort and a lot of patience, but the end result is totally worth it all - fresh & radiant!