
 Track Your Order


If there’s one product that can elevate your look most effortlessly, it’s a blush. It can add warmth, give you a more youthful appearance, and add dimension to your face.
Despite how simple it seems to be, it still seems like one of the most complicated products to use.
For years, the only so-called foolproof way of how to apply blush was to smile, find the apples of your cheeks and sweep the product onto them.
But if only this blush placement technique was enough to achieve that perfect naturally flushed face appearance you see on those YouTube makeup tutorials.
This is because applying blush isn’t just about picking the right shade; it’s about the right blush placement that will work with your face to enhance your features.
There is no one-size-fits-all when it comes to applying blush. And once you figure out how to apply blush for your face shape, your blush will become the most effortless tool to help create balance and add dimension to your face.
But why is the placement of your blush so important? Where your blush sits on your face can make a bigger difference than you may think.
The right placement can make your face look softer, more lifted, sculpted, balanced or even more youthful & fresher depending on your face shape.
That’s why it matters just as much as the shade you pick based on your skin tone.
Best Blush Placements Explained According to Your Face Shape:
-
Round Face
With this face shape, the goal is to create more structure and get a lifted effect. The best way to apply blush for round face is to start a little above the apples of the cheeks and move upward & outward toward the temples.
Avoid placing too much product on the apples of your cheeks. This will help create a softer, yet lifted and defined appearance.
-
Oval Face
Usually the easiest to work with because almost all ways of applying blush look flattering on them. But to get the best results, apply on the highest point of your cheekbones and blend outward toward the temples.
This helps enhance this face shape’s naturally balanced structure. You can even choose any other blush placement based on the type of makeup look you’re creating.
-
Heart-Shaped Face
This face shape is identified by its wider cheekbones & forehead, and a delicate chin. The idea is to soften the angular features while also creating a balance so that the upper half of the face doesn’t look wider.
Start by applying your product in a C-shape, moving from just below your cheekbones upward toward the temples. This helps diffuse the sharpness of the cheekbones and softens the transition toward the chin.
-
Square Face
Characterised by a sharp, defined jawline and equal width across the face, this face shape requires softness and warmth.
The best way to do that is by diffusing sharp angles and drawing attention to the centre of the face.
Keep your blush placement focused low on the cheeks, just a little below your cheekbones, keeping it centred around the apple of your cheeks. Use soft circular motions; do not use sharp outward strokes.
This will help keep the pigment looking gentle and rounded on the skin, while drawing attention to the centre of your face.
-
Oblong Face
With a lot of vertical length, for oblong faces, a blush creates a horizontal divider to break up the length and add dimension to them.
Apply your blush directly across the centre of your cheeks, and sweep it in a horizontal motion, moving outward toward the top of your ears.
You can even apply a little on the bridge of your nose, almost like a W-shape to create a clear horizontal divide and also achieve a sun-kissed look.
Now that you know how to apply blush for your face shape, let’s pick out the best formulation for your skin.
1. Cream Blush

Ideal for normal to dry skin, the Simply Nam Velvet Cream Magic Blush is designed to last long, blend like a dream, and offer a seamless velvet finish.
Infused with 10 botanicals, the sweat-resistant formula of this cream blush sits comfortably on the skin. The creamy texture melts like a moisturiser without weighing down on your skin. Use a stippling brush or your fingertips for seamless blending.
2. Powder Blush
Best for oily and combination skin types, a powder blush is best used in humid weather if you want your pigment to last longer.
Powder blushes, as opposed to cream ones, offer a matte finish and sometimes have a subtle hint of shimmer depending on the product you use. To apply this type of blush, use a fluffy angled brush and move over the skin in a gentle stippling motion.
3. Liquid Blush
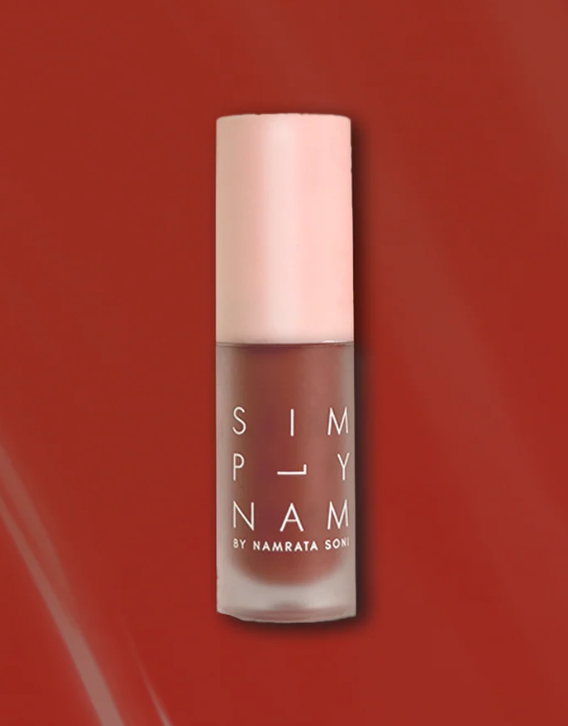
This type of blush works well for all skin types. The Simply Nam Satin Soft Blush Tint has a beautiful serum-like texture that blends into the skin seamlessly, leaving behind a natural flush and soft-blur finish.
Sweat-resistant and humidity-proof, this liquid blush is made to withstand hot days and last from AM to PM. Just dot it, dab it using a beauty sponge or a damp microfibre puff to blend it, and you’re set for the day!
You’ve picked out the perfect formula for your skin type and figured out how to apply blush for your face shape, but if it’s not blended well, all this learning might simply go to waste.
Firstly, when applying blush, make sure not to go overboard with the amount you apply. Remember, less is more when it comes to makeup, because too powdery or too pigmented can ruin the look.
Secondly, softer blending works best for every face shape, giving it a more natural flushed appearance, one that practically everyone’s chasing.
To help you achieve the perfect look that feels naturally flawless, here’s the best step-by-step application guide you need:
Step 1: Prep your skin with a basic skincare routine, and follow it up with a suitable primer. Build your base makeup with a foundation, skin tint, concealer or others, depending on the makeup look you’re trying to achieve.
Step 2: Start with a small amount of blush first and blend it softly into the skin. Add more product to build the pigment’s intensity as per your liking.
Step 3: Continue with the rest of your makeup routine and complete with a few spritzes of setting spray or a light dusting of setting powder to lock it all in.